The second attempt
After the fairly successful creation of the first figure, I decided I’d order some molding/casting materials (silicone rubber, casting resin, all that stuff). I’ve never attempted working with such materials so this is my first attempt at such a thing. This article describes what I learned and how things went during the creation of the second Creeple figurine.
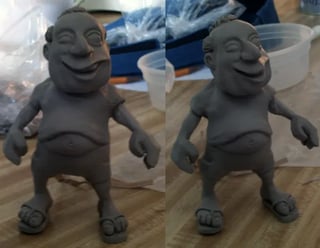
After sculpting the figure out of water based clay, I was repeatedly reminded how annoyingly brittle that stuff can be. The legs were strong enough to bear the weight of the entire figure for quite some time, then they’d suddenly let loose and he’d go toppling over. After a couple incidents involving a dented nose and a cracked lip, I decided to replace the legs while keeping the original feet and body. Unfortunately, that didn’t work as well as I had hoped and I finally resorted to starting over with new legs and feet, I then matched the legs up with the body and let them dry as separate pieces. Finally, when dried, I super glued them to the rest of the body, problem solved.
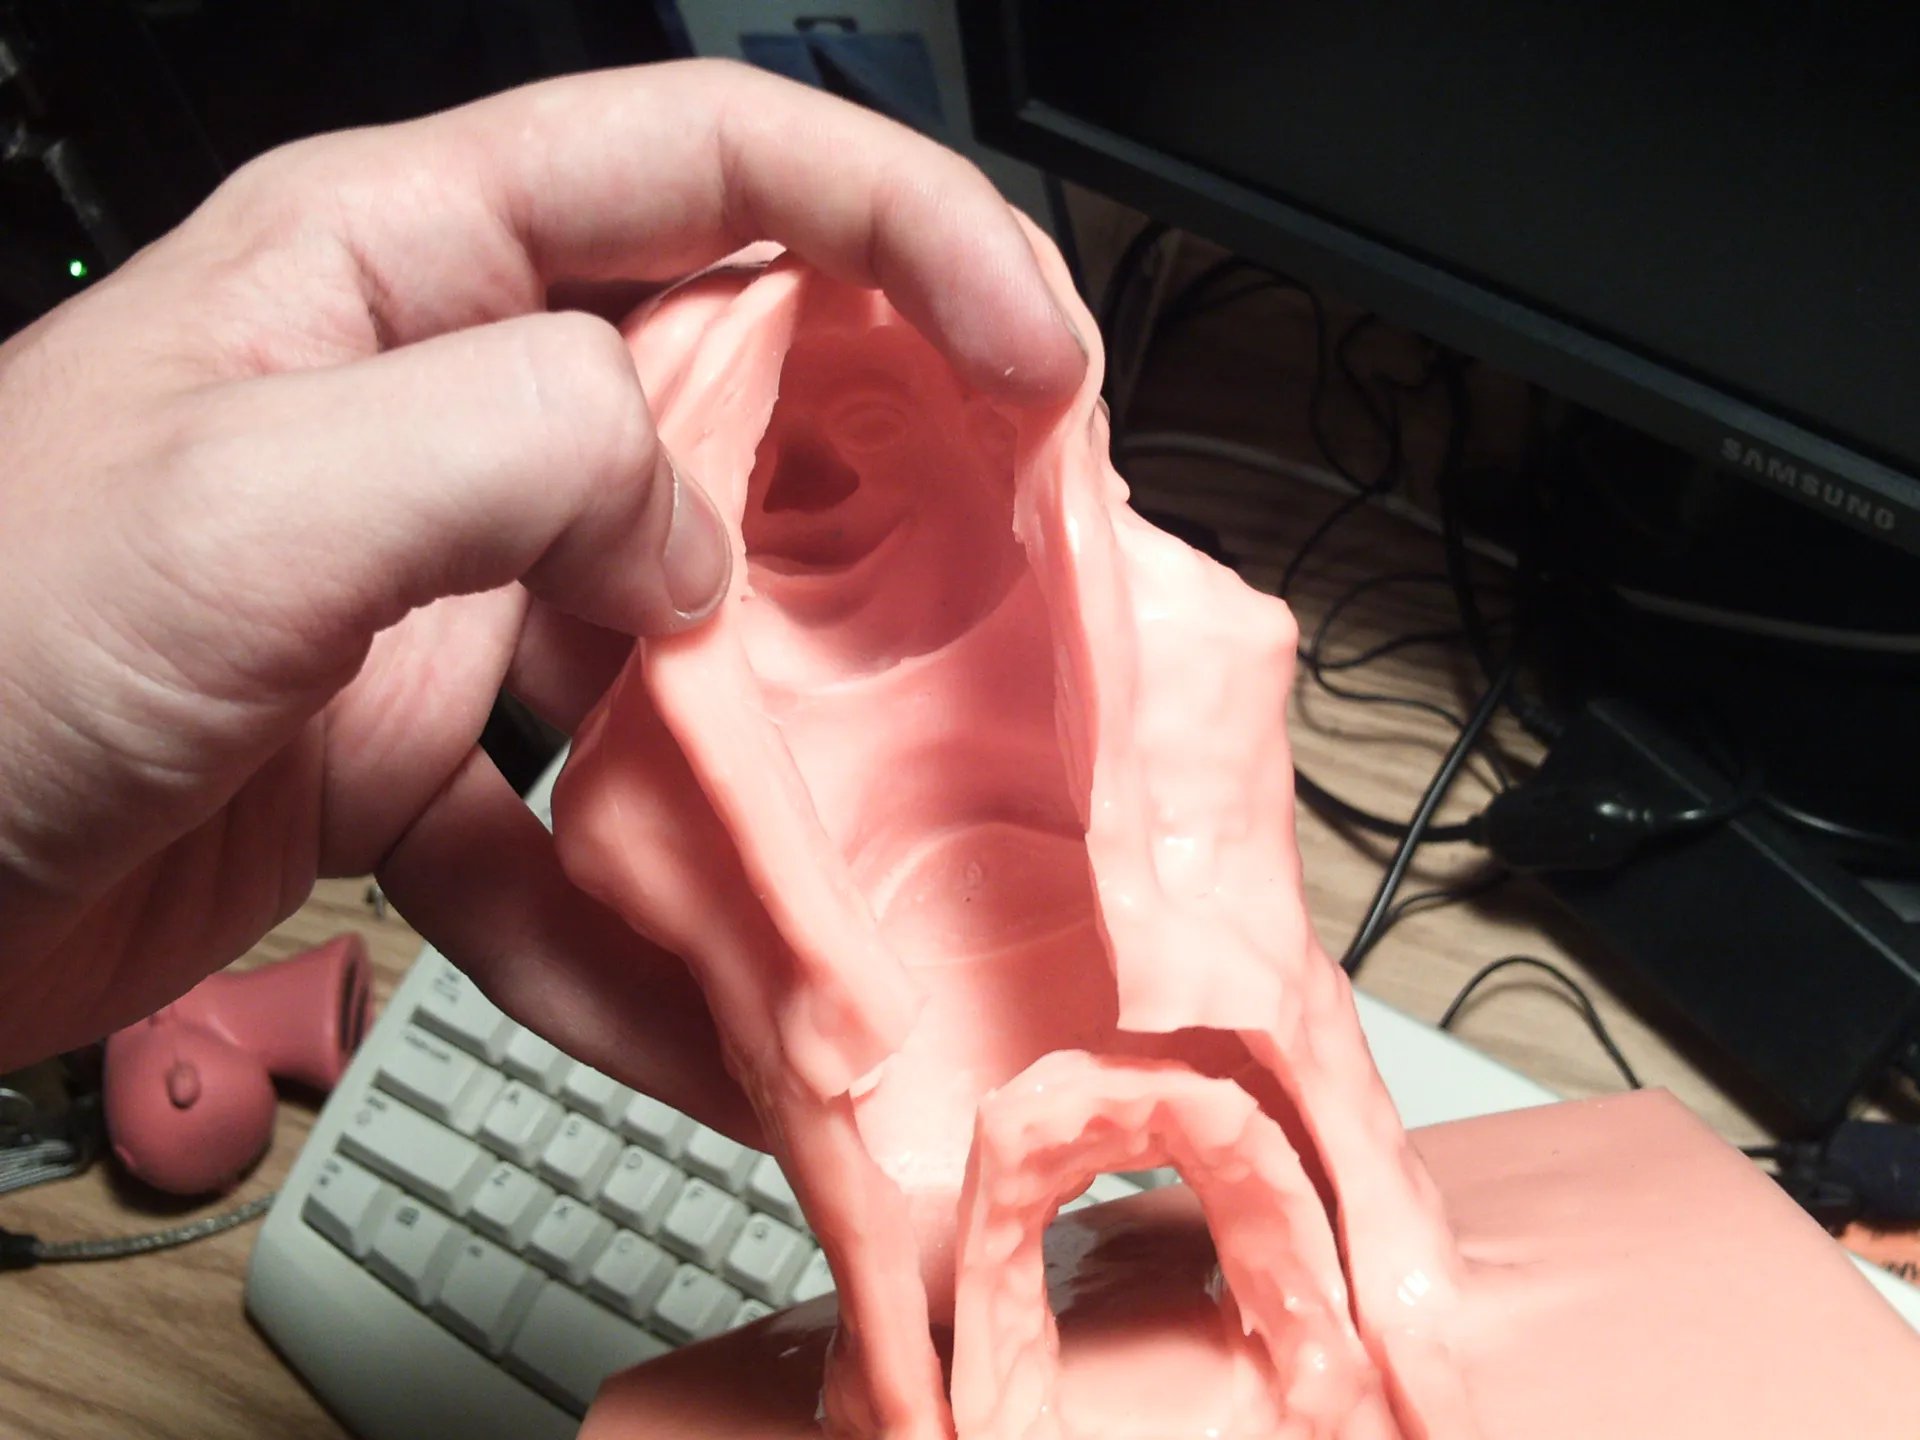
Due to the combination of me being concerned about the positioning of the arms and the probably complications involved in mold extraction along with my fear of completely ruining the entire model in my first mold-making attempt, I decided to hack the arms off and make them as a separate mold.
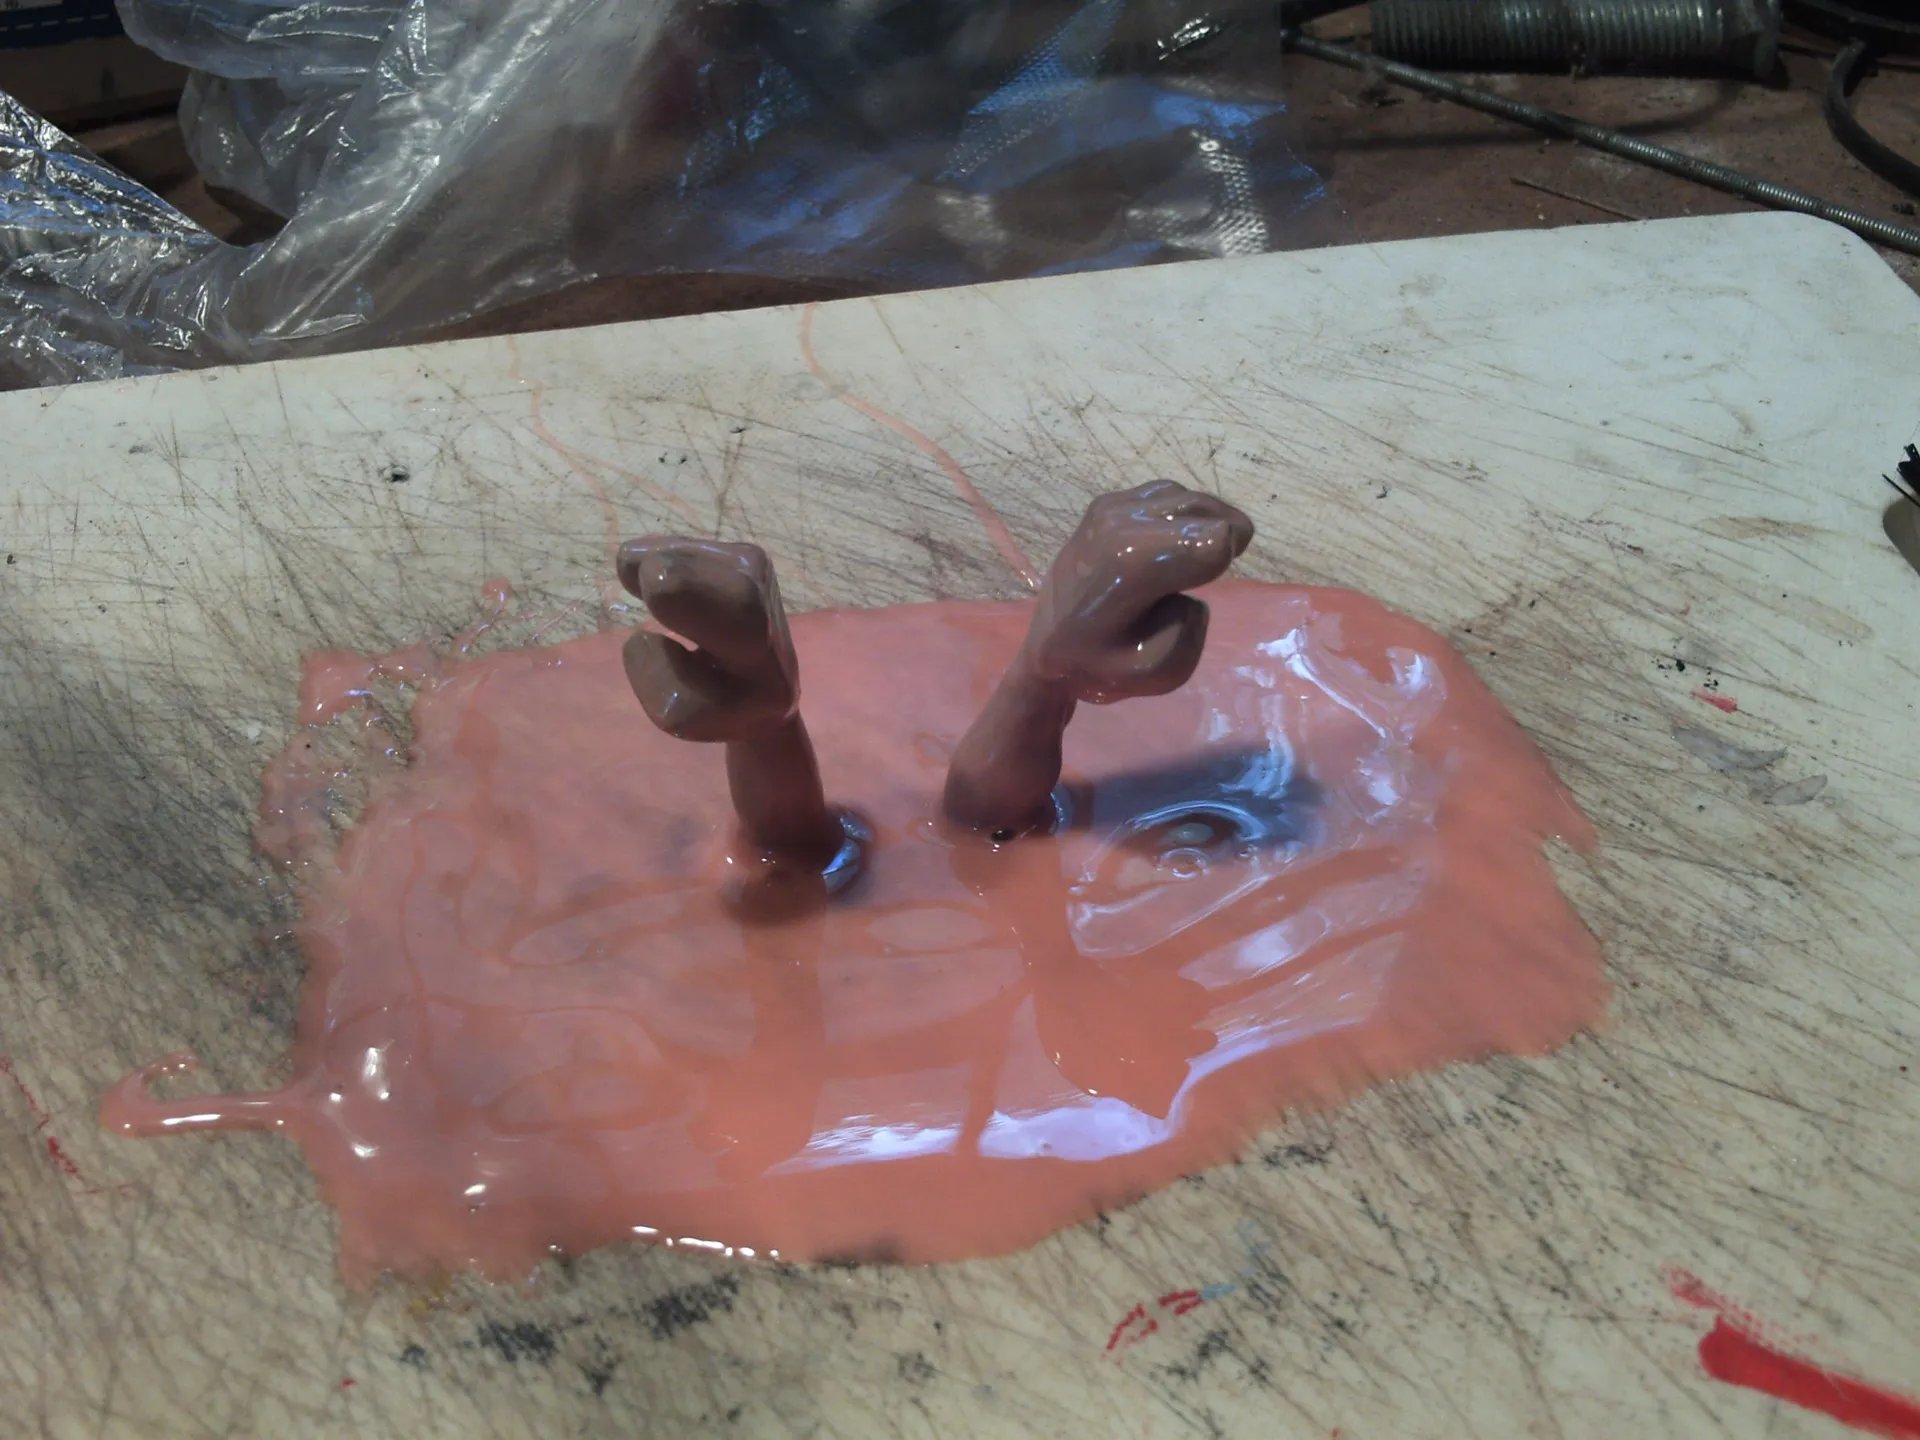
Here they are with the first layer of silicone rubber.

More and more layers of rubber.
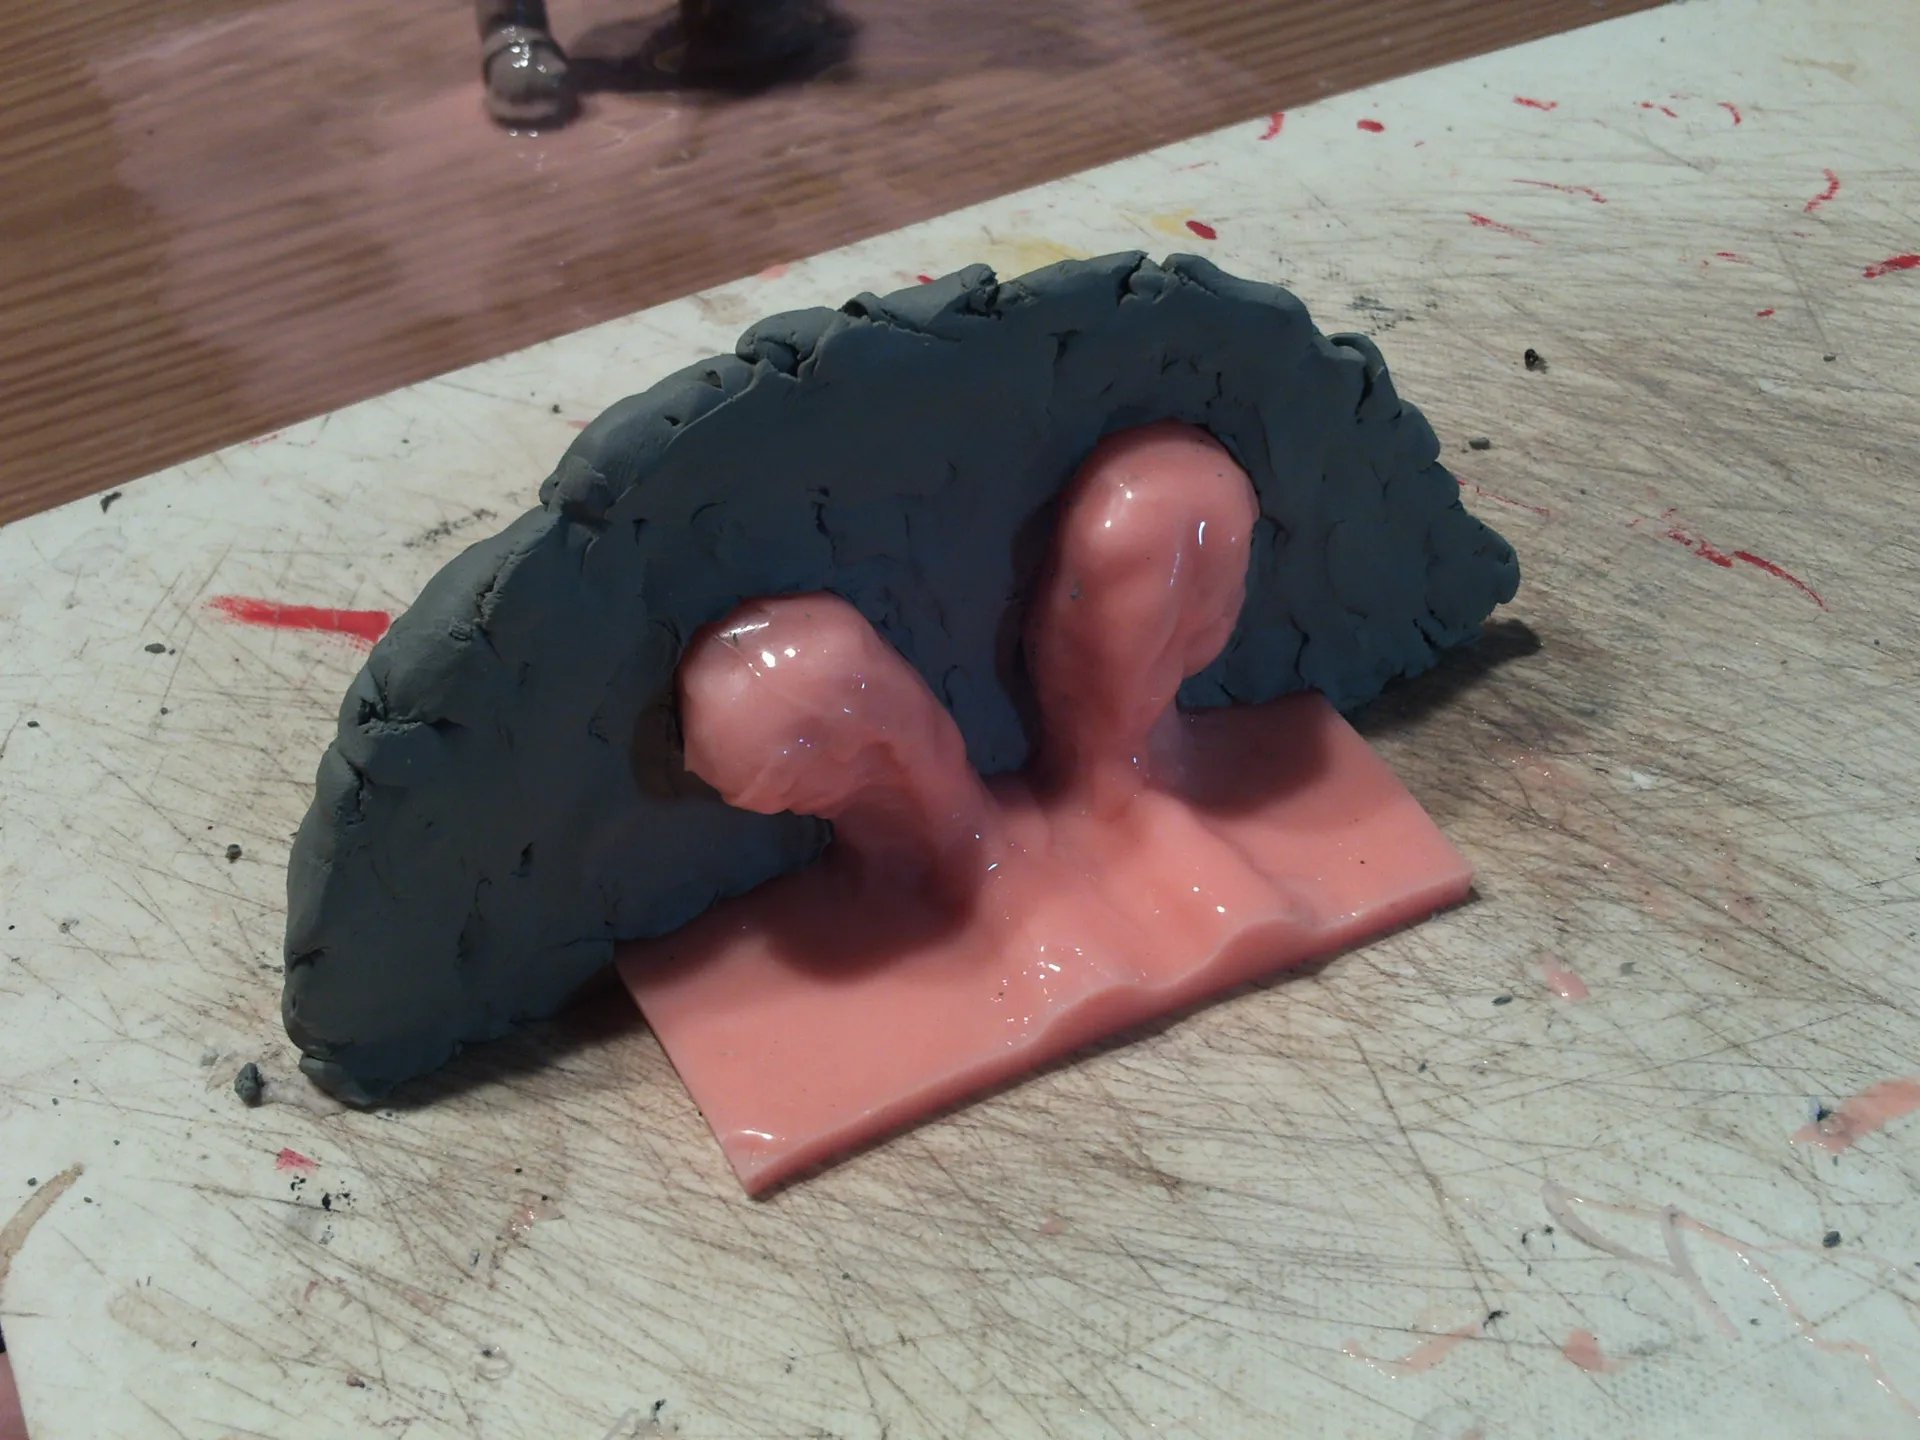
After the rubber cured, I built up a wall of oil-based modeling clay to assist in the creation of the super rigid mother mold.
Things were going well enough that I felt confident in applying rubber to the main body of the figure.
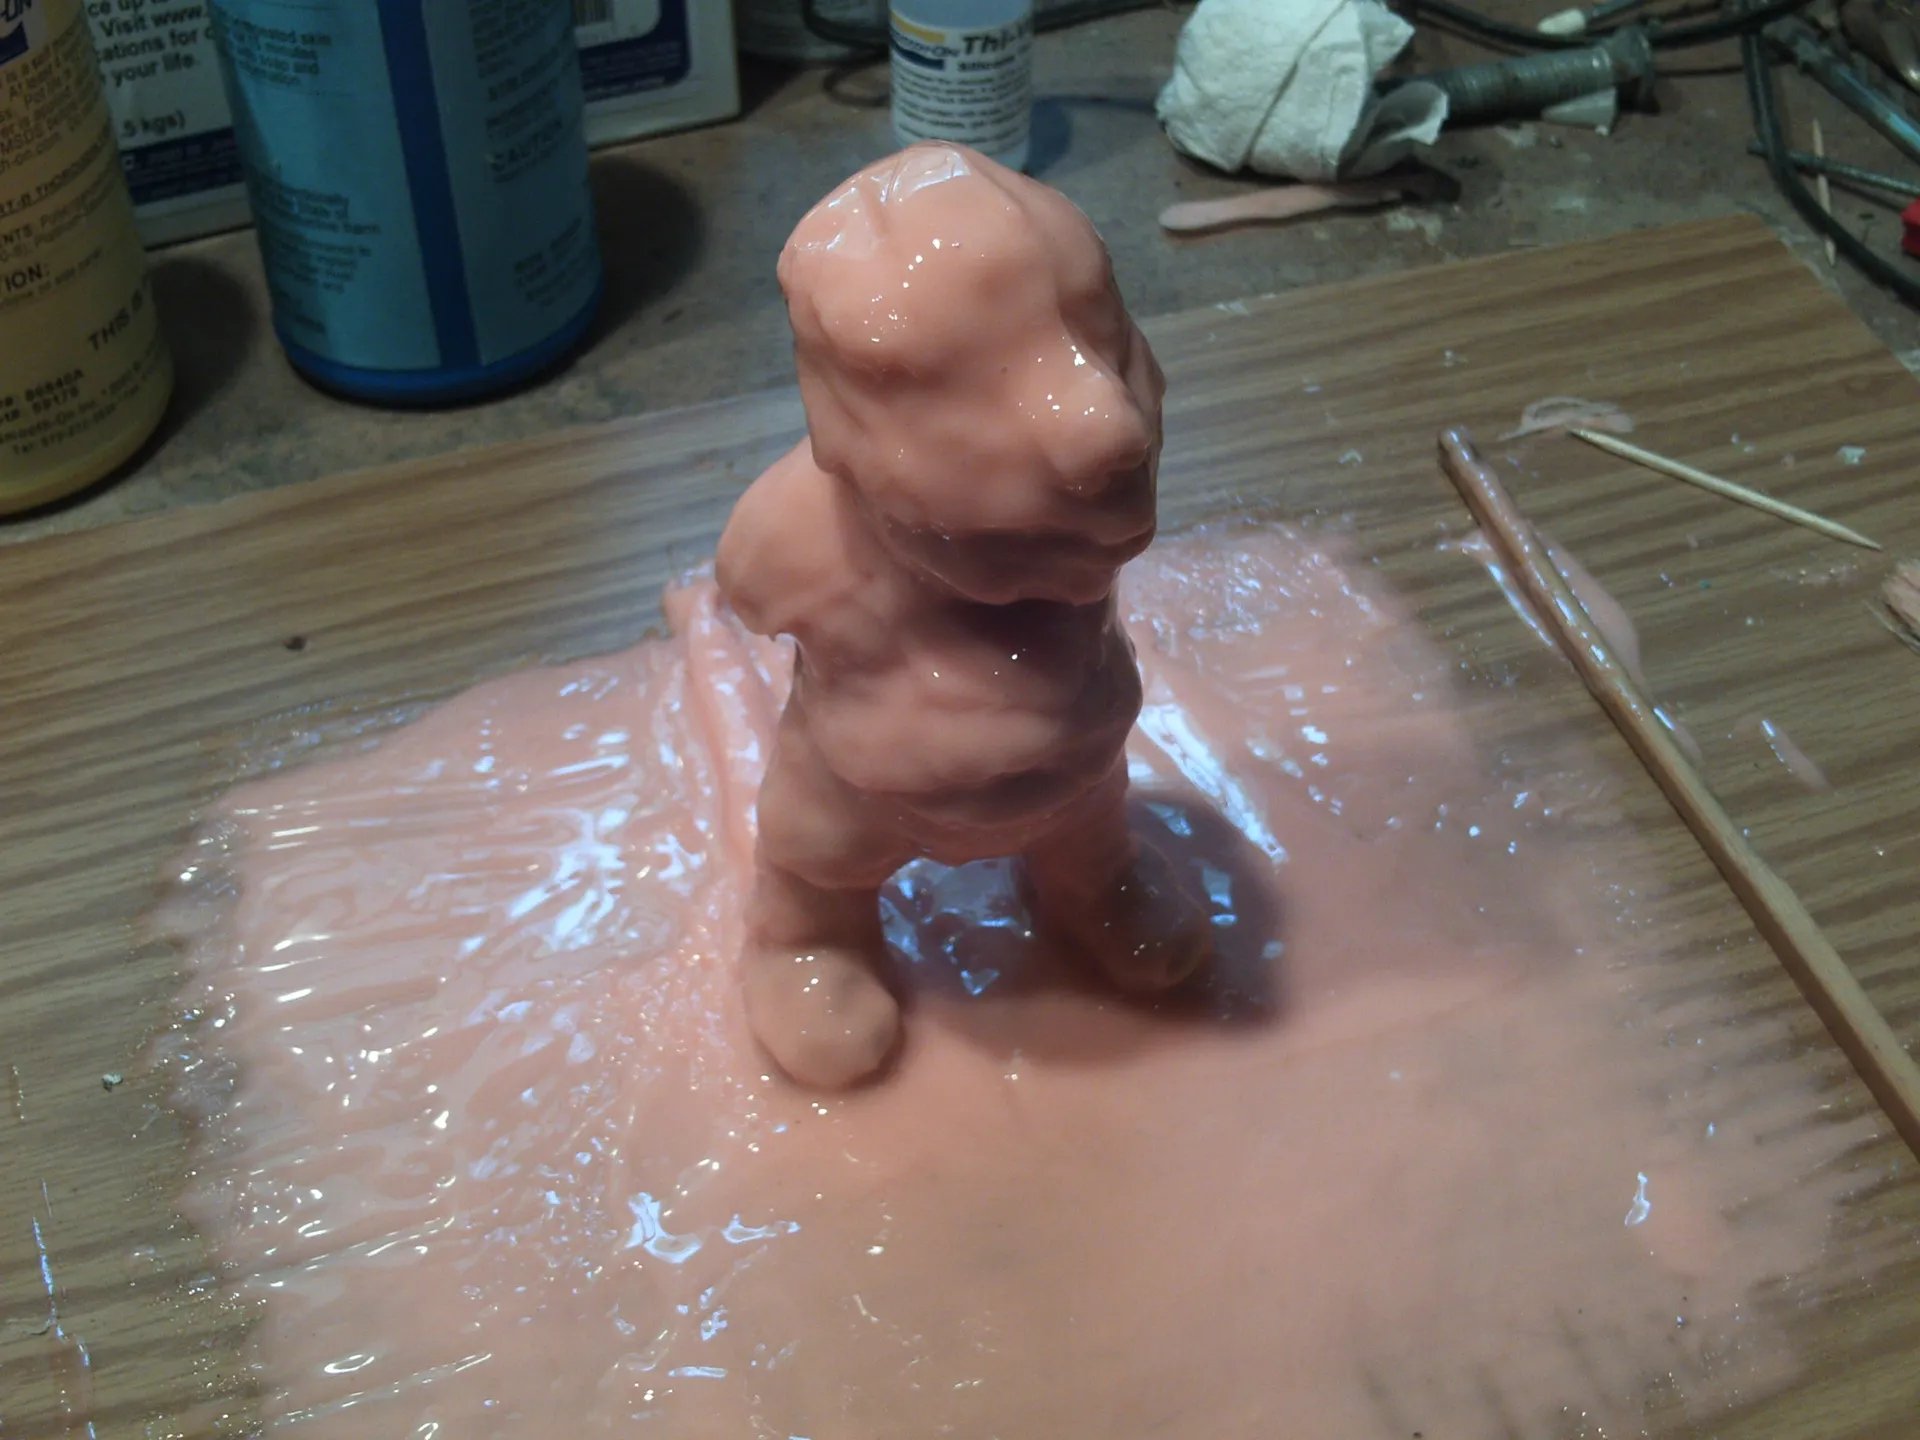
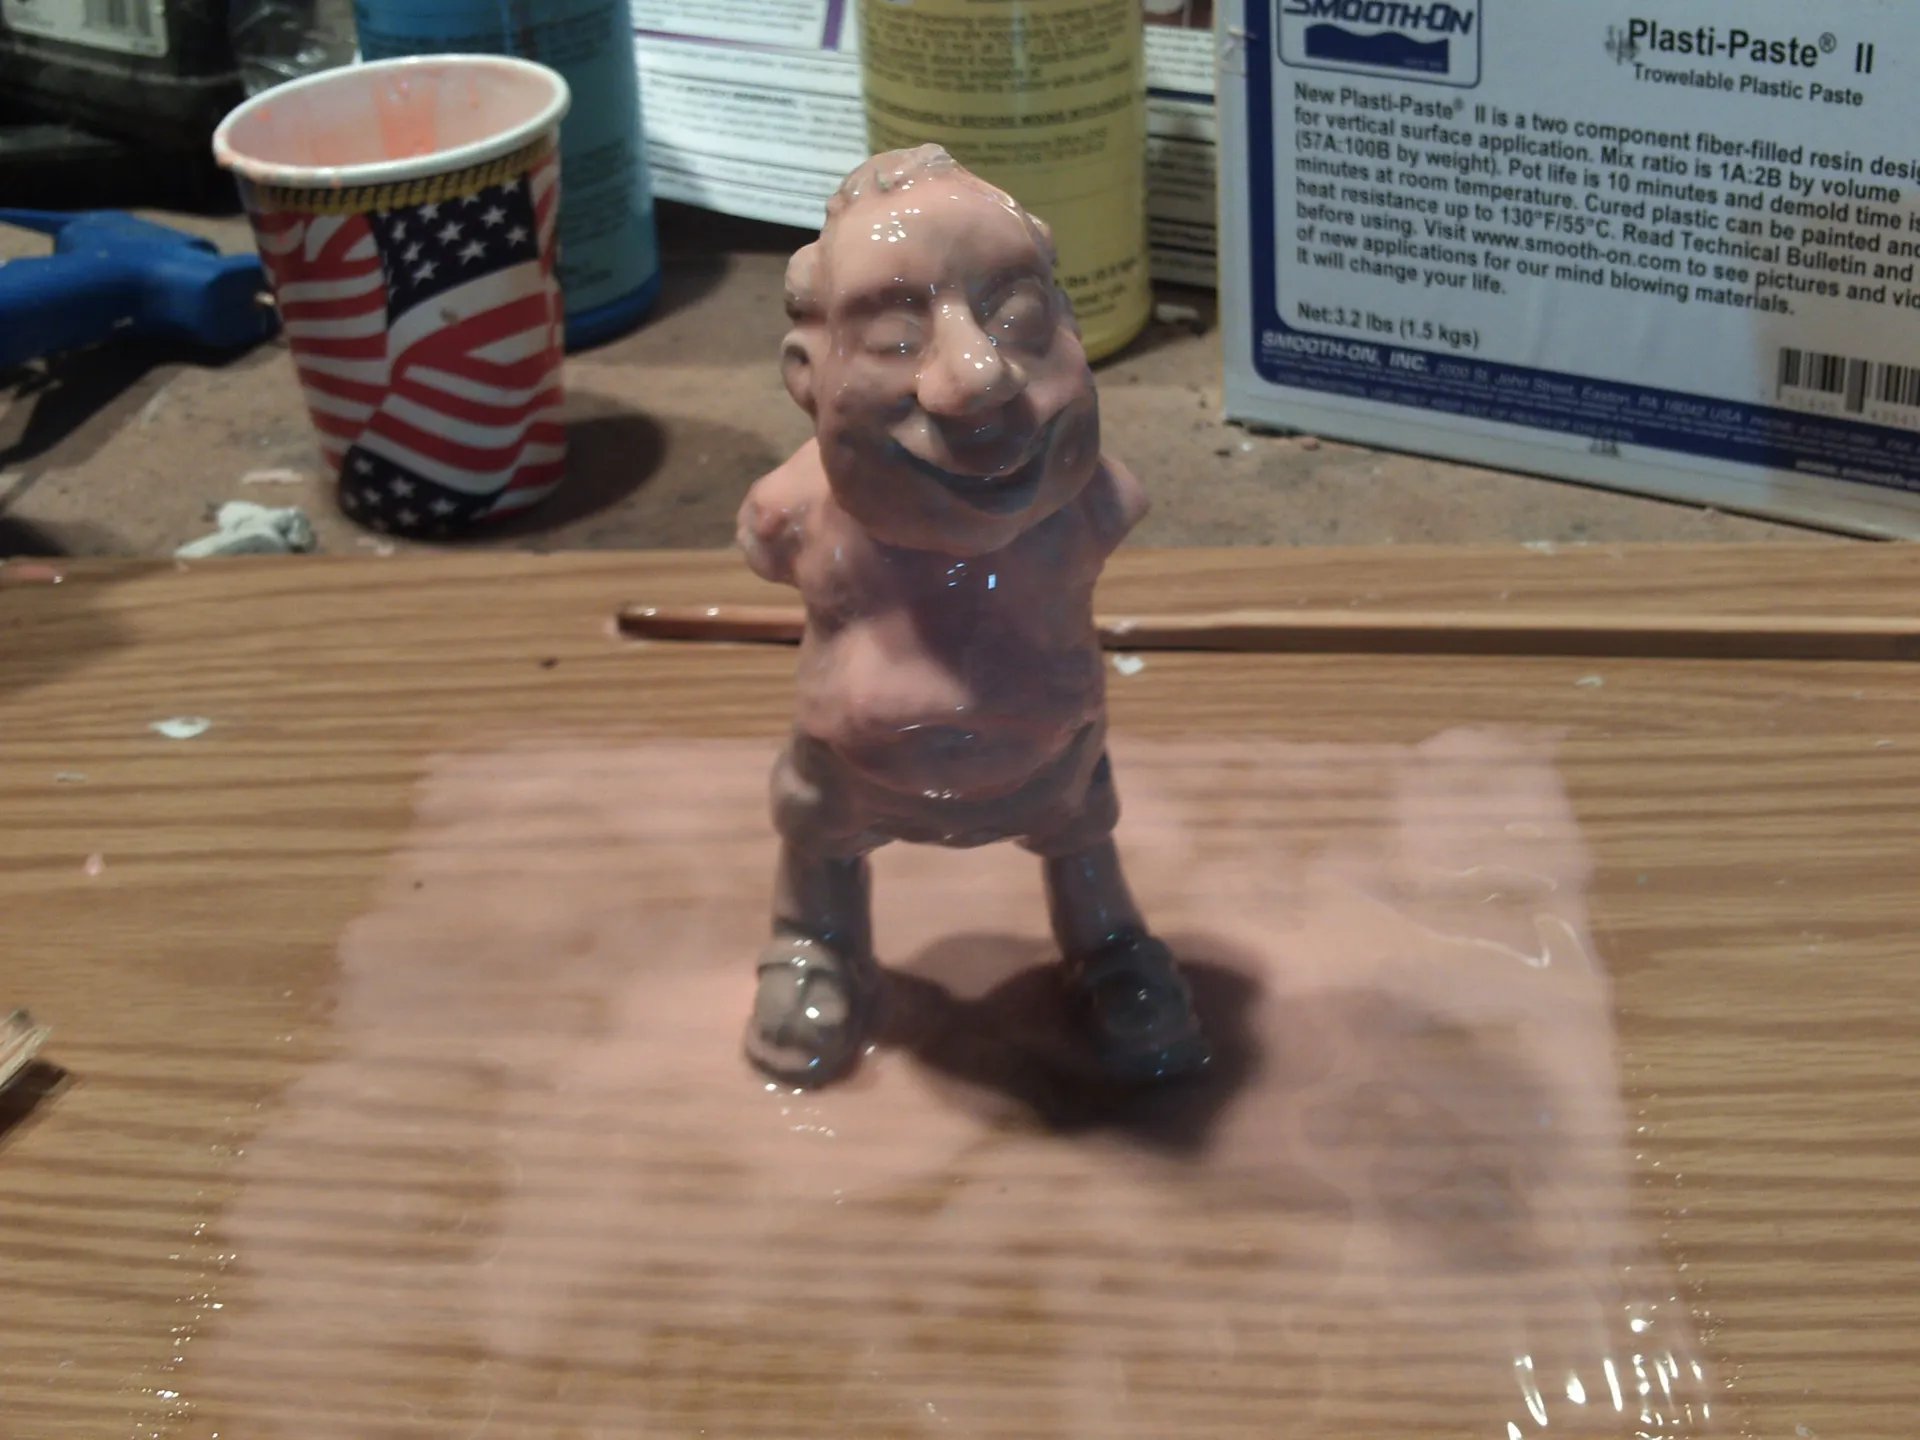
As the features become hidden under the layers of rubber I realize I’m nearly half way through with the whole production process! Exciting.
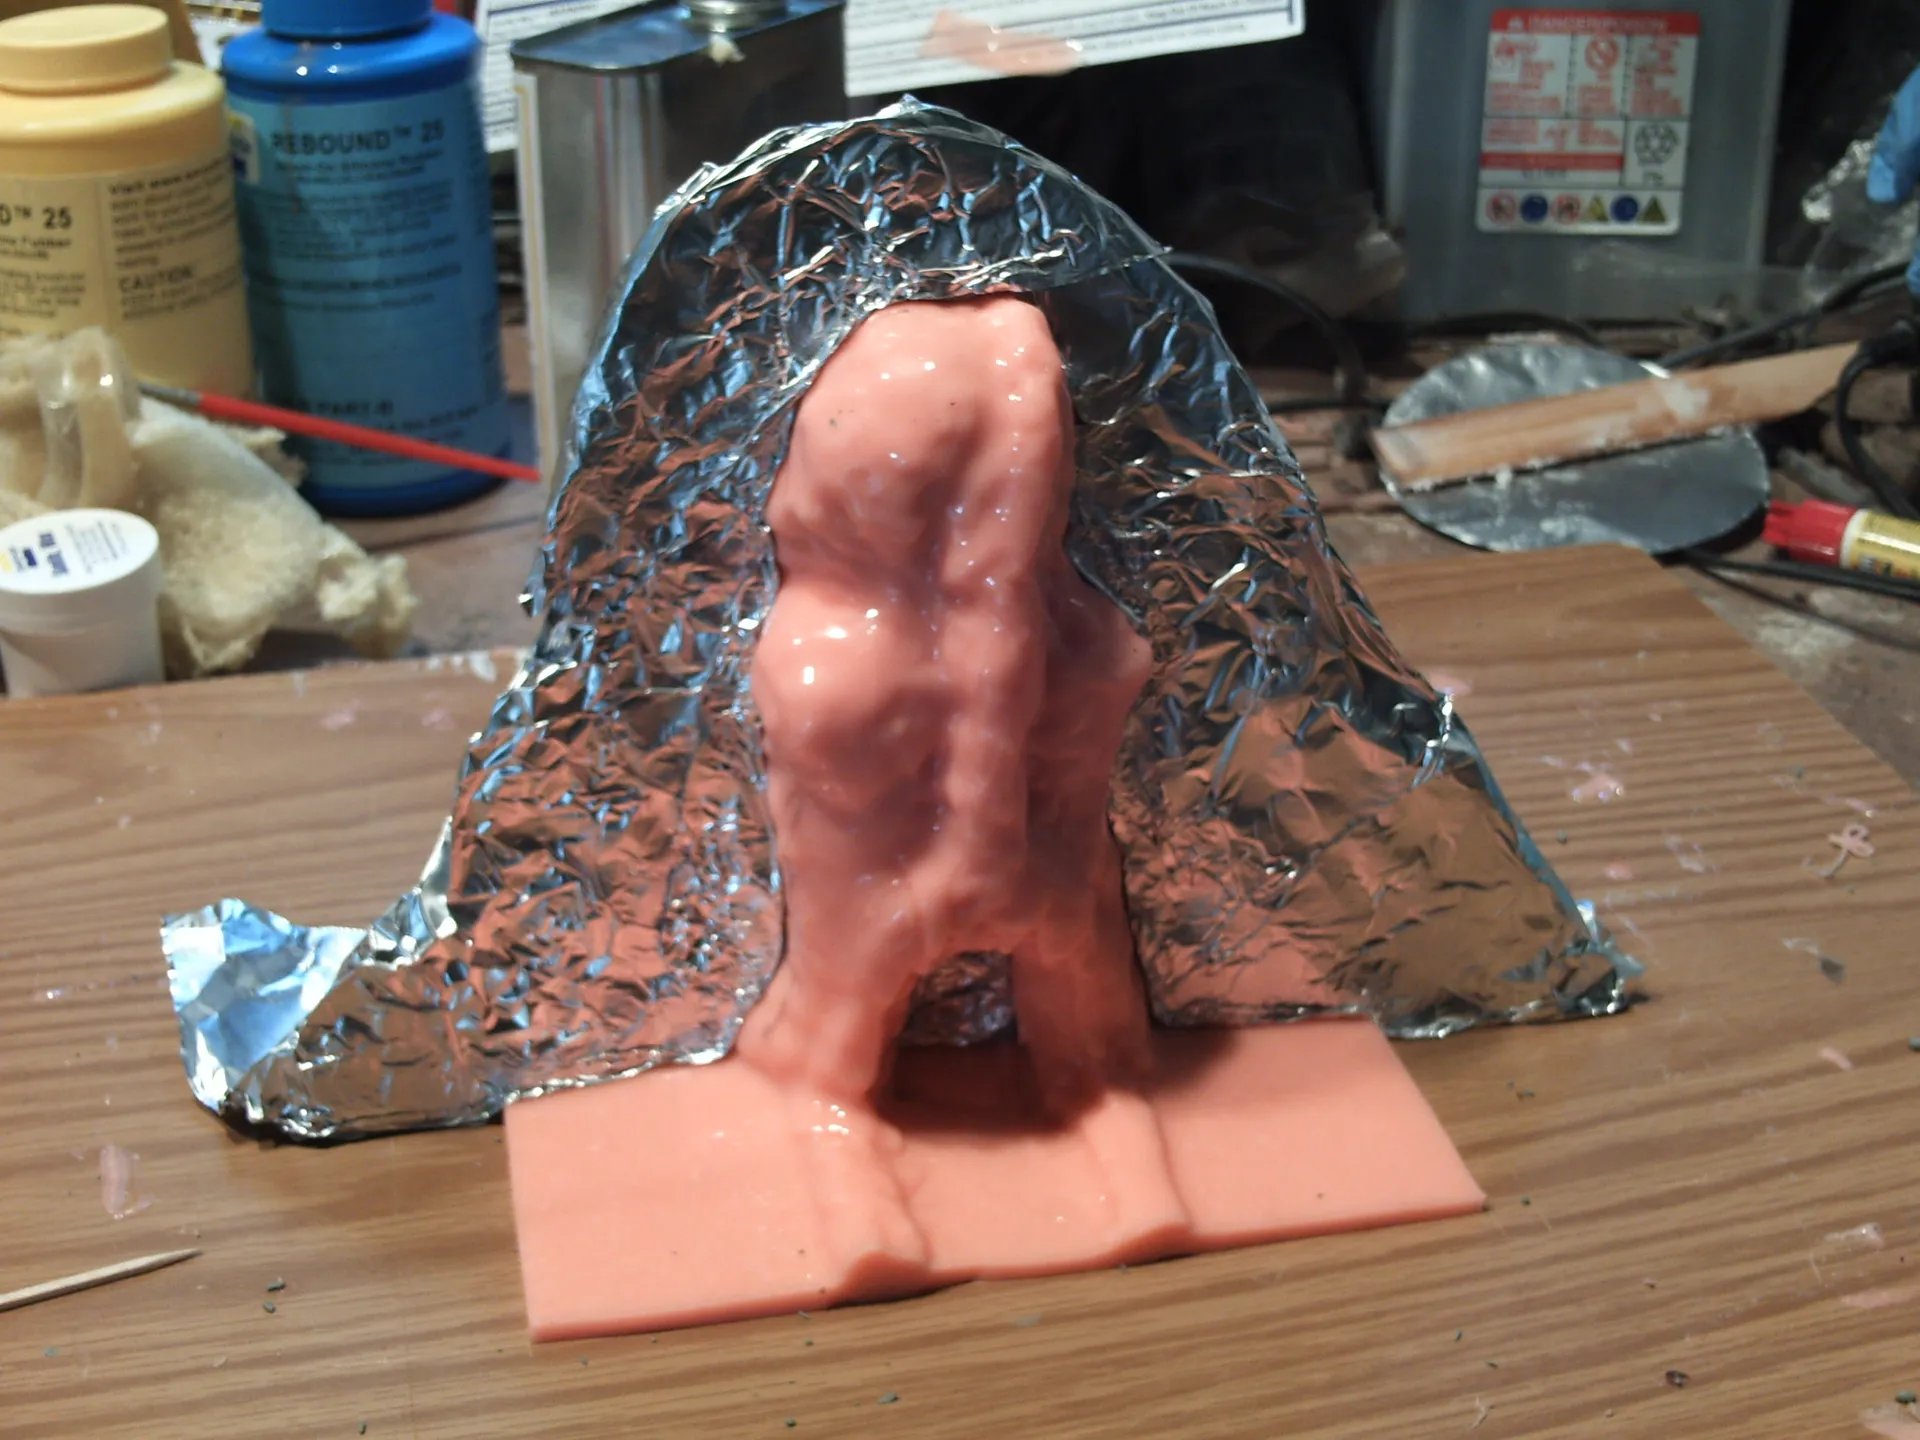
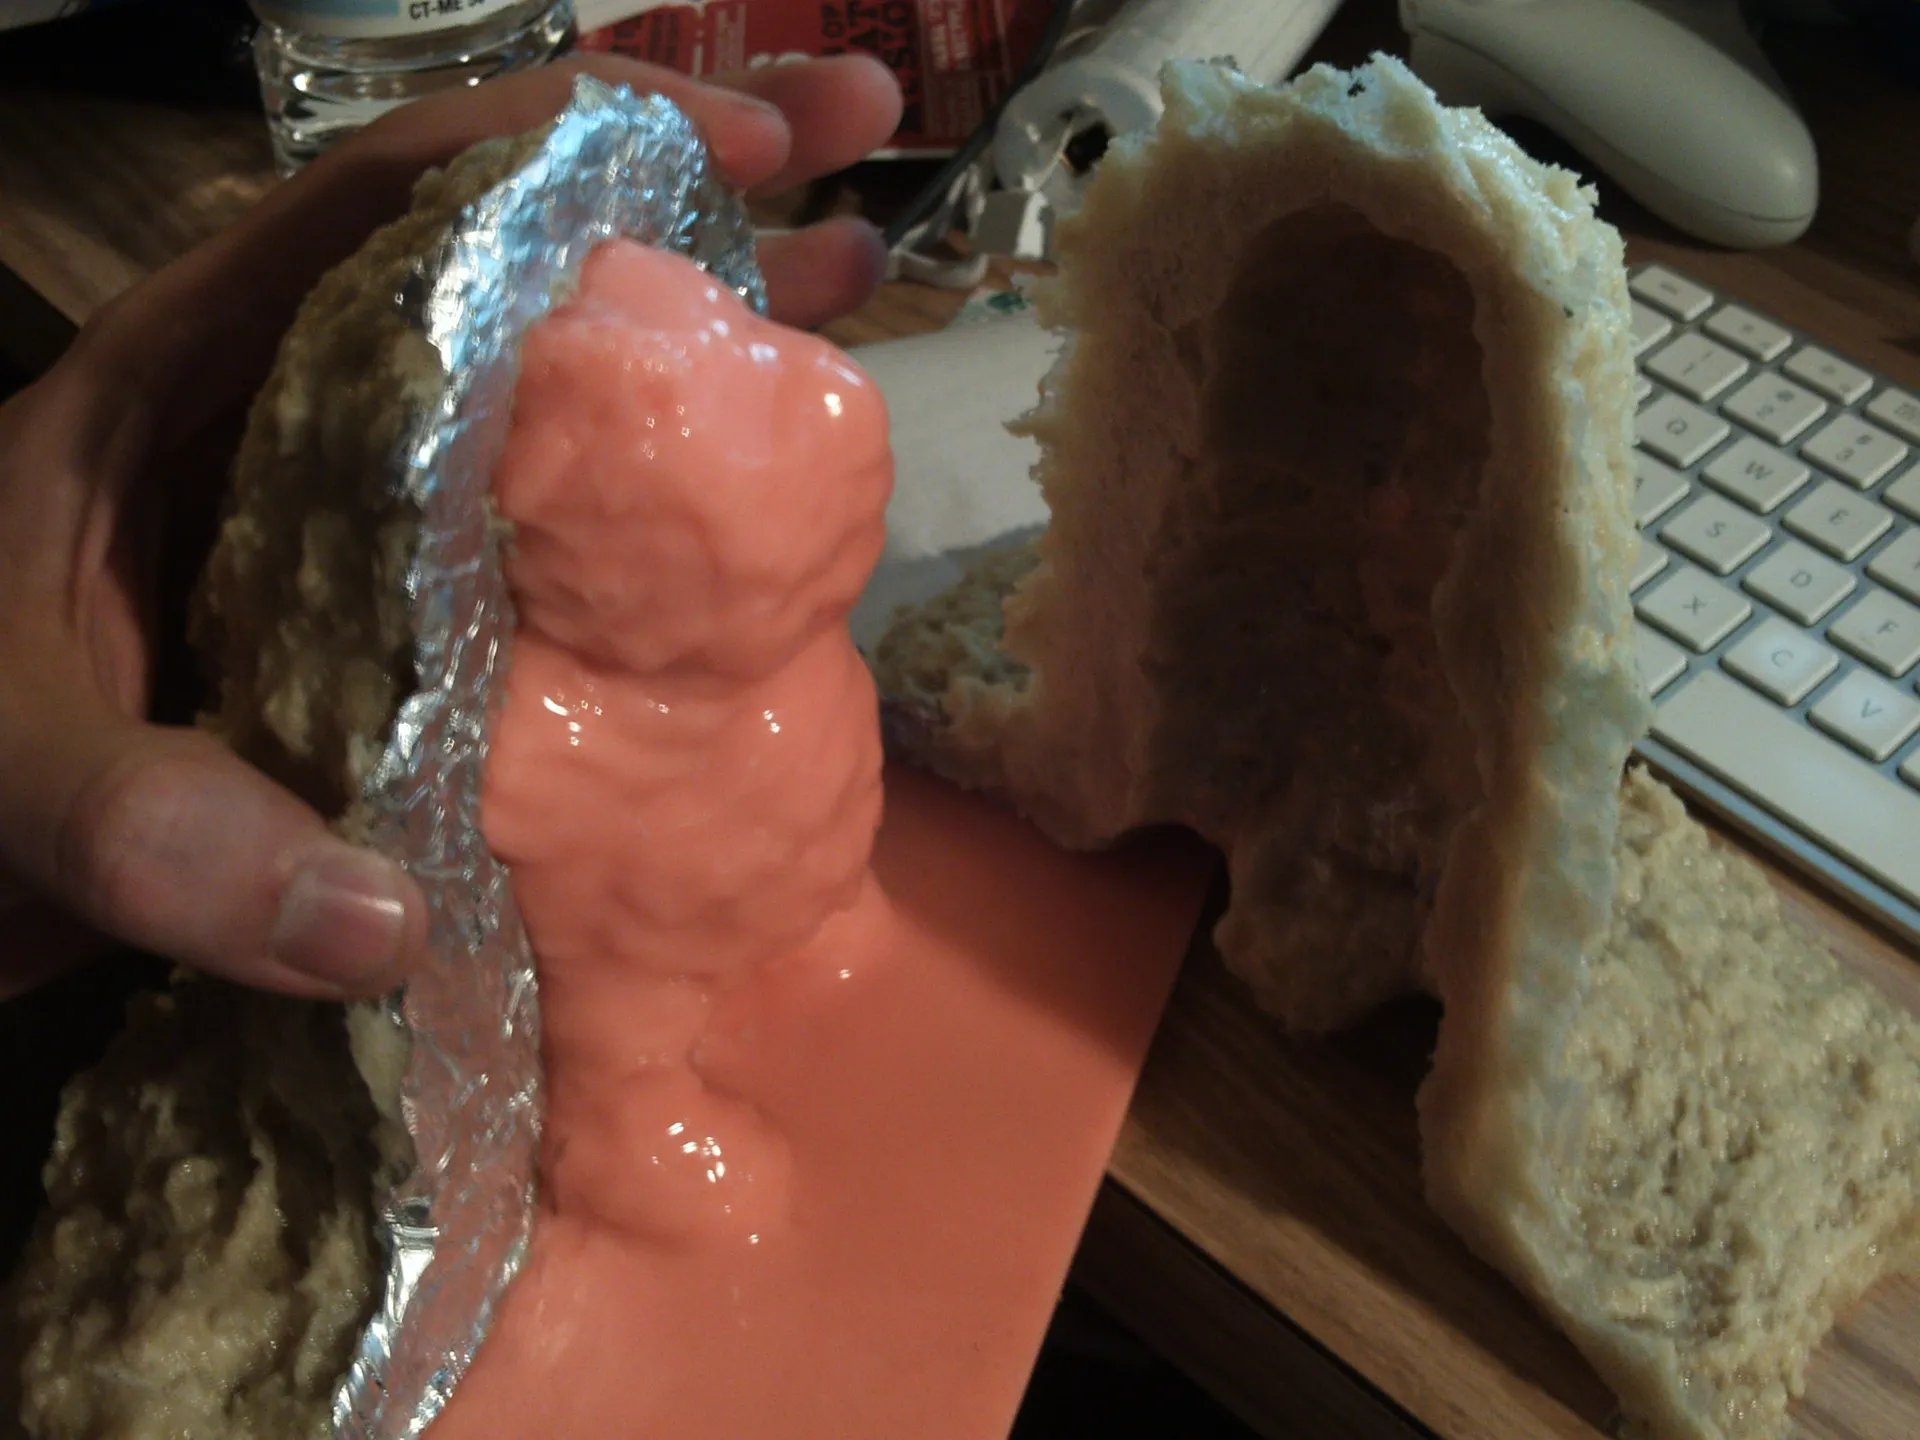
After 4 or 5 layers of rubber it’s finally time to wall off one side of the model with modeling clay. Then the wall is covered in aluminum foil to assist in removing the first side of the mother-mold, which tends to stick rather adamantly to whatever it touches.

Stay tuned, my next post will walk through the adventure of casting and painting!